Additional information
| Size | 8oz, 32oz |
|---|
$18.00 – $43.00Price range: $18.00 through $43.00
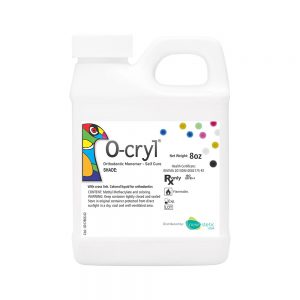
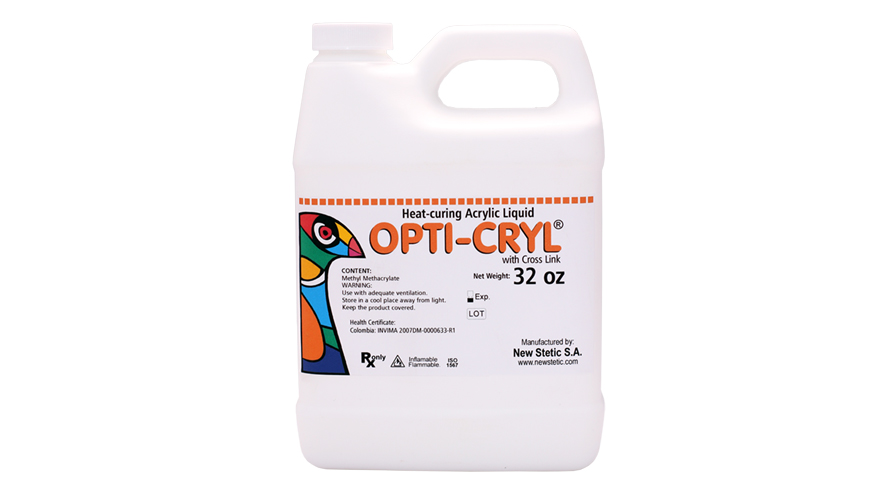
It is a thermo-polymerizable acrylic resin (polymer and monomer) are indicated for the elaboration of bases for total, partial and removable prostheses, aesthetic plates, surgical guides, bruxism plates or neuromyorelating plates (NMR) and provicional teeth.
Available in 8oz, 32 oz.
| Size | 8oz, 32oz |
|---|
– Excellent handling characteristics
– Biocompatibility with oral tissues
– Provides an accurate copy of the wax pattern
– 10 minutes working time
– Designed for use with heat cure, microwave and injection techniques
– Balanced translucency and shade selection deliver natural esthetics
– Optimal stability helps maintain correct vertical dimension
– Minimal residual monomer
– Exceptional flexural strength
– 20-minute conventional technique polymerization.
Heat-curing acrylic: Opti-cryl® Heat-curing Monomer must be mixed only with the Heat-curing Polymer. Polymerization occurs by using a heat-curing method.
Conventional technique
Acrylic Mixture Ratios:
Weight ratio:
Two parts of Heat-curing Polymer + One part of Heat-curing Monomer.
Volume ratio:
Three parts of Heat-curing Polymer + One part of Heat-curing Monomer.
Preparation of Acrylic Dough:
– The acrylic dough is prepared in an adequate container (a dappen dish or a glass, silicon, or porcelain container).
– The polymer is poured over the monomer in the indicated ratios. The mixing is continually made crosswise during 30 seconds approximately in order to ensure the complete incorporation of polymer and monomer particles.
– Put a lid on the container for avoiding the entrance of air until the acrylic dough reaches its plastic phase (i.e. when the mixture does not adhere to the spatula or to the walls of container).
– Finally, proceed to make the packaging of the flask.
Pressing
– The heat-curing material is packaged in the flask, with a polyethylene sheet between the heat-curing resin and the impression model.
– Apply a slow pressure of 1500 psi. Take out material from the press. Open the flask to remove the polyethylene sheet and cut out the acrylic excess with a spatula. Close the flask again and apply a definite 2000 psi pressure to the flask, in order to ensure a non-altered vertical dimension.
Polymerization:
Follow the steps described in the chart below.
| STEP | TEMPERATURE (°C) | TIME (min) | MEDIUM |
| 1 | 73 | 90 | water |
| 2 | 100 | 30 | water |
| 3 | 23 | 30 | air |
| 4 | 23 | 15 | water |
Work Time: This mixture allows a work time of 10 minutes approximately, taking into account the room temperature of the site.
Microwave Technique
The indicated microwave polymerization oven must have the following characteristics:
– Any oven having a minimum power of 900 watts and a maximum power of 1350 watts.
– Programmable power with increases of 10 percent.
– It must have a programmable chronometer in minutes and Turntable.
The flask for microwavable acrylic must have the following characteristics:
– It must not be made of metal.
– Must be recommended by the manufacturer for use in microwave.
Acrylic Mixture Ratios:
Weight ratio:
Two parts of Heat-curing Polymer OPTI-CRYL® + One part of Heat-curing OPTI-CRYL® Monomer.
Volume ratio:
Three parts of Heat-curing Polymer OPTI-CRYL® + One part of Heat-curing OPTI-CRYL® Monomer.
Wax elimination: Eliminate the wax with the traditional system or using the Microwave oven. To eliminate any wax excess with the microwave oven, place cotton moistened with water on the wax; tighten the flask and place it in the oven for one (1) minutes at maximum power.
Remove the flask, extract the cotton and check that there is no wax left on the surfaces. If necessary, finish the wax elimination with hot water and a detergent using the conventional method. Apply a thin coat of separator on the stone surfaces with the hot flask avoiding any excess.
Preparation of Acrylic Dough:
– Use the measures of OPTI-CRYL® polymer and one measure of OPTI-CRYL® monomer, measured by volume.
– Pour the monomer in a glass or porcelain container and add the polymer; mix with a spatula for 30 seconds in a transversal way to avoid any air inclusion.
– Cover the container until the mix achieves its fibrous or filamentous state (approximately 3 minutes).
Pressing
– Place the mix in plastic state into the flask.
– Cover the mix with a polyethylene film and close the flask.
– Press slowly at 1500 psi maximum.
– Unload the press, open the flask, and remove the polyethylene fil, removing any acrylic excess with a spatula.
– Again, close the flask and apply a final pressure of 2000 psi maximum and place the locking screw of the flask.
NOTES:
– It is not necessary to reach a pressure of 1500 and 2000 psi. If the flask adjusted completely at a lower pressure, then do not apply more load.
– If your lab does not have a press with gauge, close the flask with enough pressure to allow the evacuation of excess acrylic material, avoid excessive forces that can damage the flask. This closure can be performed by 2 or 3 times until no residues of acrylic observe.
Polymerization in microwave oven:
Place the muffle in the oven, with screws facing down. Set the time to 4 minutes power level according to the following table and press start.
| MAXIMUM POWER OVEN (WATTS) | POWER (%) |
| 900 -1100 | 100 |
| 1100 -1250 | 90 |
| 1250-1350 | 80 |
NOTE: Remove the flask from the oven and let it rest at room temperature before opening. Avoid cooling the hot flask in cold water.