Elaborated by: TPD. Daniel Andrés Zárate A.
Hello, please receive a cordial greeting from me. I hope this article is very helpful to you. I have designed it in great detail to explain the importance of understanding that patient needs are constantly evolving. Today, we face a growing demand for highly precise dental prostheses that can be produced in the shortest possible time.
Currently, there are multiple alternatives for the polymerization of acrylic resins—essential options that we must adopt to advance our work, making it more efficient while always prioritizing patient benefit. Among the available techniques are: the conventional technique, the microwave technique, the injection technique, and the technique I will explain below—the Pour technique, also known as the casting technique in some countries.
Pour (Casting) Polymerization Technique
 This prosthesis polymerization technique optimizes both time and profitability in your laboratory. It is especially ideal given the increasing pressure for faster delivery times in today’s labs.
Traditionally, laboratories have relied on thermopolymerizable acrylic resins, which require significant time for packing and curing. When analyzing this process—for example, in a partial denture—it involves considerable time and material to complete the full workflow.
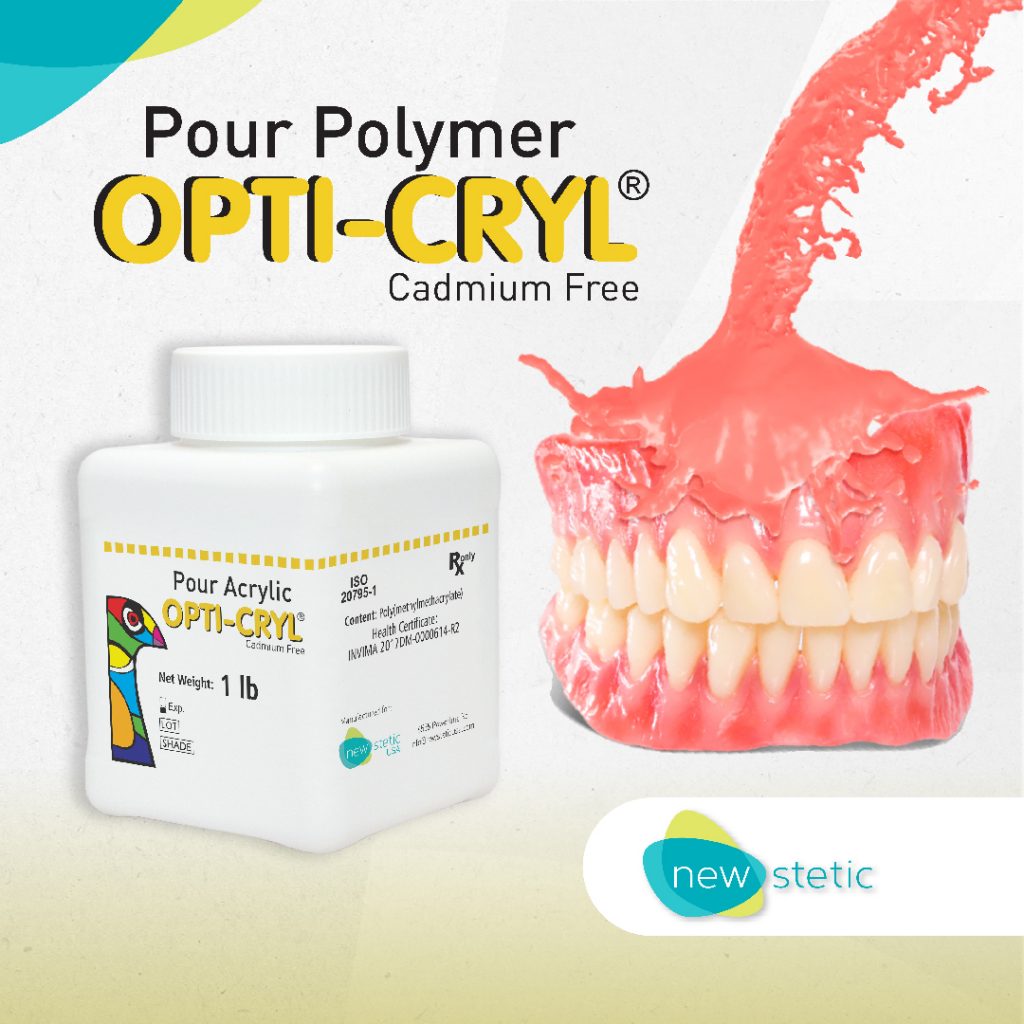
In dental supply stores, you can find our acrylic resin under the brands Opti-cryl Pour. This is a special self-curing polymer, different from conventional self-curing acrylic resins on the market. Also known as a pour-type denture base resin, it is indicated for the fabrication, repair, relining, and adjustment of complete dentures, partial dentures, and overdentures using a pressurized and heat-assisted polymerization system.
It is clear that with pour-type acrylic resin, you can complete clinical cases in less time while maintaining good quality. However, it cannot be directly compared to thermopolymerizable acrylic resin, which offers superior mechanical properties. What can be assured is that laboratories often require faster solutions for certain clinical cases, and this technique is ideal—up to 30% faster than conventional thermopolymerizable methods. It is important to note that approximately 80% of the cost of producing a dental prosthesis using conventional techniques is labor. This means that the Pour polymerization technique not only saves time but also increases profitability.
New Stetic, as a manufacturer of acrylic resins, provides quality and reliability with Veracril / Opticryl Pour. This resin is developed under quality standards in compliance with ISO 20795-1:2013 Type 2 Class 2, offering reduced laboratory working time as a key benefit.
Produce high-quality dentures quickly using this fast polymerization process. You will soon notice improved productivity without compromising the quality of your clinical cases.
Below is the correct procedure for using the Pour technique and acrylic resin to avoid handling errors, including proper preparation and pouring into the flask.
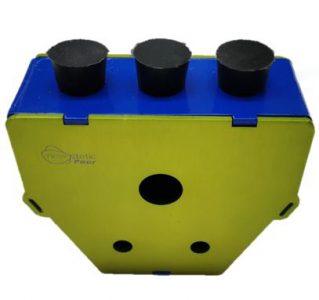
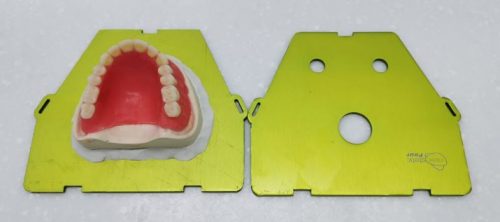
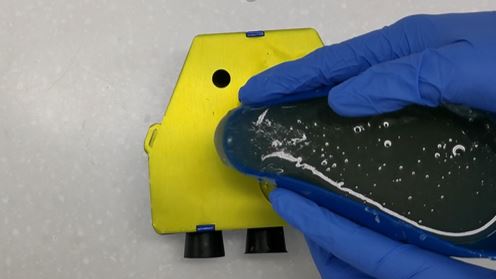
It is important to emphasize that this technique requires a special flask: a reinforced aluminum flask consisting of a base, body, and lid assembly. This flask includes three channels through which the fluid polymer is poured.
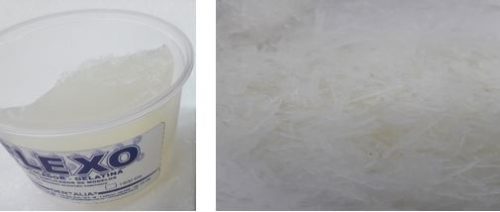
For this technique, it is recommended to duplicate the wax pattern using materials such as hydrocolloid or liquid silicone. In this example, hydrocolloid is used, which should be shredded as shown to facilitate melting.
Next, hydrate the model in water for 20 minutes to prevent gypsum from adhering to the duplication material.
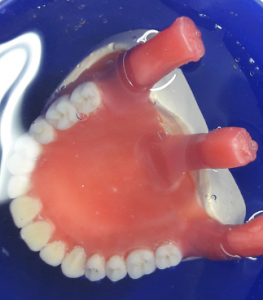
Then, position the model in the base of the flask. If desired, secure it with modeling clay to prevent movement during duplication. Create three wax channels in the posterior palatal area or two in the lingual area, ensuring that each aligns with the flask openings for accurate duplication of the wax pattern.
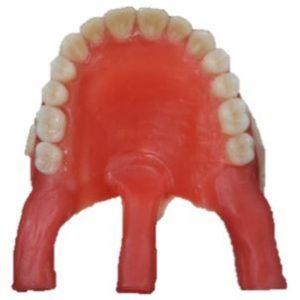
You may create three sprues during waxing or directly in the duplication material.
Proceed to duplicate the wax pattern manually or using a material dispensing device (optional).
Once the duplication material is melted, pour it into the flask when it reaches room temperature. It is recommended to pour from a height of approximately 30 cm to minimize air bubbles.
After pouring, place the flask in a pressure unit for 20 minutes at 25 PSI to eliminate bubbles.
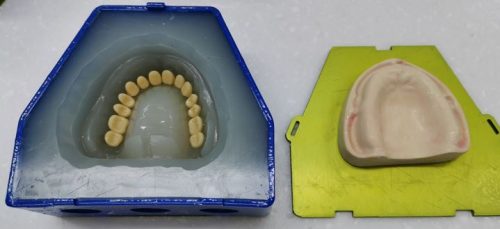
Once completed, open the flask and verify that the duplication material is fully solidified.
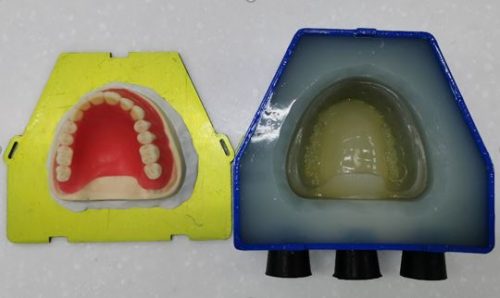
Remove the working model from the duplication material, ensuring an accurate copy of the wax pattern. Then remove the teeth from the wax-up and wash them with hot water along with the model to eliminate wax residues. Reposition the teeth in the duplication mold.
Apply a thin layer of Novafoil gypsum separator to the plaster model, allow it to dry, and apply a second thin layer if necessary.
Check that all channels are properly open to allow acrylic resin flow. Close the flask securely, ensuring clamps are properly positioned.
Acrylic Resin Preparation
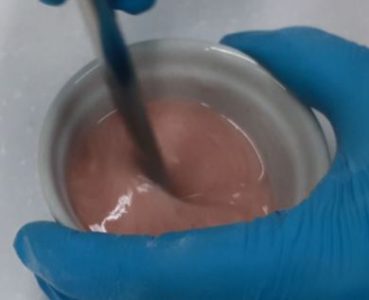
For Veracril / Opticryl Pour acrylic resin, use a volumetric ratio of 2.5 parts polymer to 1 part monomer.
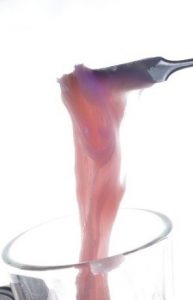
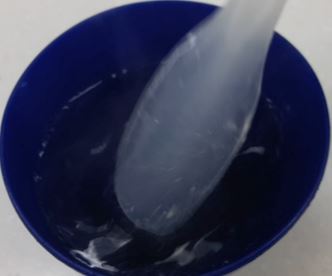
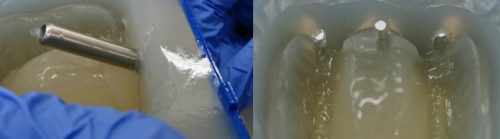
First, pour the monomer into the container, then gradually add the polymer to ensure each bead is properly wetted and the color is homogenized. Mix in a cross pattern for 30 seconds to avoid incorporating air and prevent bubbles.
Then, quickly pour the acrylic resin into the channels, alternating gradually to ensure proper duplication of the wax pattern.
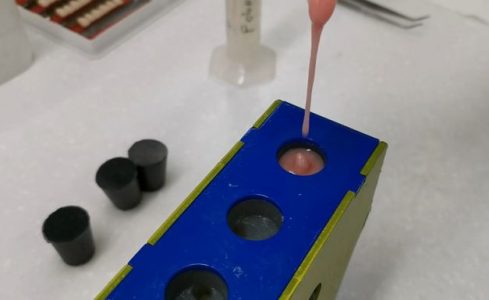
Once all channels are filled, place the black safety caps on the flask and transfer it to the pressure unit. Add water only up to half the flask height to avoid contamination of the resin. Close the unit securely and set the following parameters:
- Time: 20 minutes
- Temperature: 60°C
- Pressure: 30 PSI
After polymerization, open the flask, remove the duplication material, trim the channels, and proceed with the standard polishing and finishing process using dental laboratory tools.